
Unlock Enhanced Embroidery with Your iPad: Transforming it into a Budget-Friendly LightPad!
Easily utilize your iPad for pattern transferring with this simple trick! Disable the touch function and transform it into a LightPad at no cost. Unlock a convenient and budget-friendly way to enhance your embroidery experience
4/3/20242 min read
Transforming Your iPad into a LightPad: A Step-by-Step Guide
Embroidery enthusiasts, rejoice! We've discovered a game-changing trick to elevate your stitching experience: turning your iPad into a LightPad for pattern transferring. Say goodbye to expensive LightPads and hello to a budget-friendly solution that's right at your fingertips. In this comprehensive guide, we'll walk you through the simple steps to unleash the full potential of your iPad for embroidery pattern transferring.
Step 1: Prepare Your iPad
Before diving into the world of LightPad embroidery, ensure your iPad is ready for the transformation. Start by adjusting your iPad settings to disable the touch function. This prevents accidental taps and swipes while you work with your patterns. Navigate to Settings > Accessibility > Touch > AssistiveTouch, and toggle the switch to turn it off. Voila! Your iPad is now primed and ready for its new role as a LightPad.
Step 2: Choose Your Pattern
With your iPad prepped and ready, it's time to select the pattern you'd like to transfer. Whether it's a digital design downloaded from the internet or a hand-drawn sketch, ensure the pattern is saved to your iPad's gallery or accessible through a compatible app.
www.designet.shop
Step 3: Adjust Screen Brightness
Next, adjust your iPad's screen brightness to achieve optimal visibility for pattern transferring. Navigate to Settings > Display & Brightness and use the slider to adjust the brightness to your preference. Aim for a balance between brightness and clarity to ensure your pattern is clearly visible without causing eye strain.
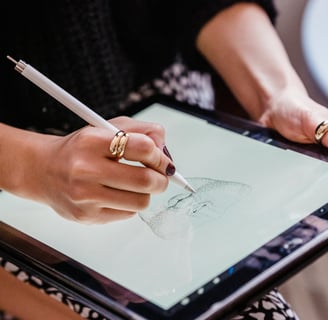
Step 4: Position Your iPad
Now that your iPad is prepared and your pattern selected, it's time to position your device for pattern transferring. Place your iPad on a flat surface in a well-lit area, ensuring there are no obstructions casting shadows on the screen. You may find it helpful to use a non-slip mat or a stand to keep your iPad stable and secure during the transferring process.
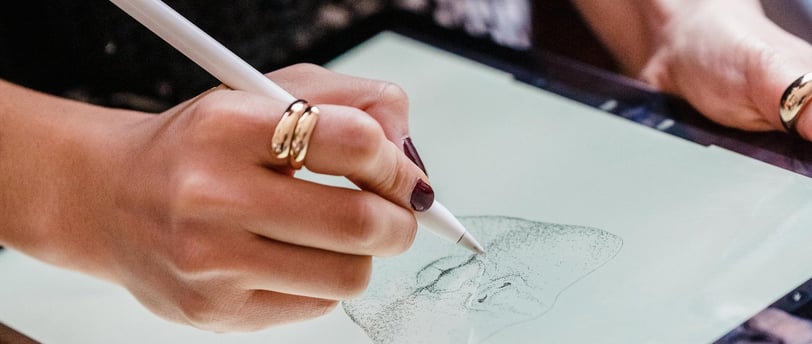
Step 5: Transfer Your Pattern
With everything in place, it's time to transfer your pattern onto your embroidery fabric. Lay your fabric over the illuminated screen of your iPad, ensuring the pattern is positioned exactly where you want it to appear on the fabric. Use a water-soluble fabric marker or tailor's chalk to trace the outlines of the pattern onto the fabric, taking care to capture all the intricate details.
Step 6: Begin Stitching
Once your pattern is transferred onto the fabric, it's time to bring it to life with your needle and thread. Follow the traced lines of the pattern using your preferred embroidery stitches, adding depth, texture, and color to your design as you stitch. With your iPad serving as a makeshift LightPad, you'll enjoy enhanced visibility and precision as you work on your embroidery project.
Conclusion
Transforming your iPad into a LightPad for pattern transferring is a simple and cost-effective solution that enhances your embroidery experience. By disabling the touch function and adjusting the screen brightness, you can create a well-lit workspace for transferring patterns with ease and precision. So grab your iPad, select your favorite pattern, and embark on a stitching journey filled with creativity and inspiration. With this innovative technique, the possibilities are endless, and your embroidery projects are sure to shine brighter than ever before. Happy stitching!
www.designet.shop