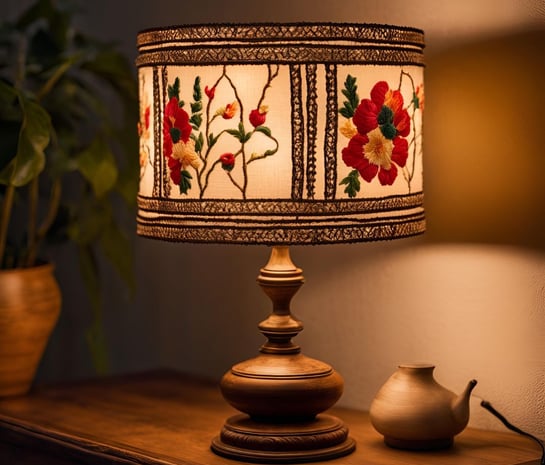
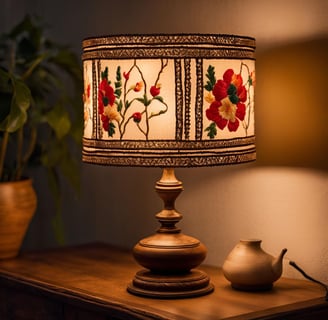
Transform Your Space with a DIY Embroidered Table Lamp!
Are you ready to elevate your home decor? Our ultimate guide on creating an embroidered table lamp is here to inspire your creativity! This detailed article walks you through every step, from selecting materials to mastering unique embroidery techniques. Discover tips for choosing eye-catching designs, adding decorative elements, and achieving stunning results that will impress your guests. With high-traffic keywords like "DIY embroidered lamp" and "home decor crafts," this post is perfect for anyone looking to add a personal touch to their living space. Don't miss out on this creative opportunity—illuminate your home with a one-of-a-kind lamp today!
10/11/20242 min read

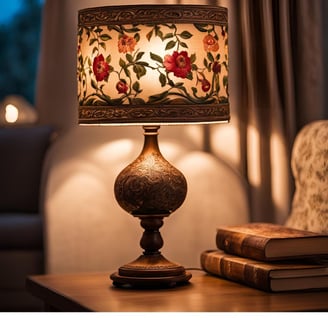
How to Create an Embroidered Table Lamp: A Comprehensive Guide with Tips for Stunning Results
Are you looking to add a unique touch to your home decor? Crafting an embroidered table lamp is the perfect way to combine creativity and functionality. In this article, discover effective techniques, detailed steps, and tips to successfully create your embroidered lamp while
optimizing your project to attract online attention.
Why Choose an Embroidered Table Lamp?
Embroidered table lamps are not just decorative items; they bring personality to your
space. They allow you to express your creativity while providing warm illumination.
Plus, handmade creations are trending, drawing the interest of decor enthusiasts.
Materials Needed for Your Embroidered Table Lamp
Lamp Base: Choose from metal, wood, or ceramic.
Lamp Shade: Fabric or paper options work well.
Embroidery Thread: Cotton or polyester, depending on the desired effect.
Embroidery Needle: Select a suitable needle for your thread.
Scissors: For finishing touches.
Backing Fabric: Helps with embroidery stability.
Decorative Elements: Beads, sequins, etc., for added flair.
Steps to Create Your Embroidered Table Lamp
1. Choose an Eye-Catching Design
Select a pattern that complements your decor. Popular options include floral, geometric, or abstract designs. Use platforms like Pinterest for inspiration.
2. Prepare the Lamp Shade
Cut the Fabric: Ensure it’s slightly larger than the shade.
Secure It: Use glue or pins to hold the fabric in place.
3. Embroider Your Design
Transfer the Pattern: Use a removable fabric pen for tracing.
Start Embroidering: Mix different embroidery stitches (cross stitch, stem stitch) to create depth and texture.
4. Elegant Finishing Touches
Add Decorative Elements: Sew on beads or sequins for a unique touch.
Trim Excess Threads: Ensure the fabric looks clean and tidy.
5. Assemble the Lamp
Attach the shade to the base and check for stability.
Time Investment for Your Embroidered Lamp
Expect to spend between 4 to 10 hours on this project:
Design Choice and Preparation: 1-2 hours
Embroidery: 3-6 hours
Finishing and Assembly: 1-2 hours
SEO Tips for Sharing Your Creation
Conclusion
Creating an embroidered table lamp is a rewarding project that enhances your home. By following these steps and applying SEO techniques, you can not only craft a unique piece but also attract attention to your blog. Don’t hesitate to share your creations and inspire fellow decor enthusiasts!