
Embroidery floral bouquet pattern
7/15/20252 min read
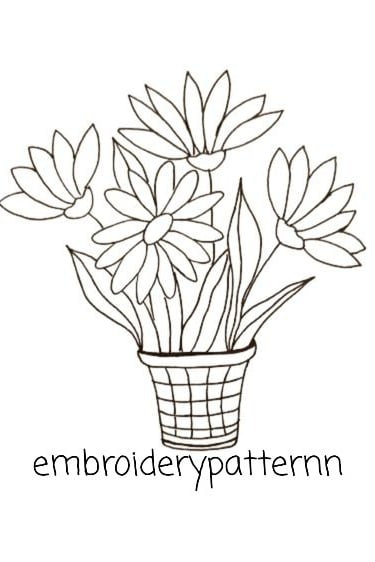
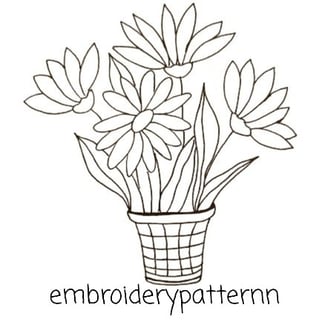
Creating an embroidery floral bouquet pattern involves stitching a collection of flowers and foliage in an artistic arrangement onto fabric. Floral bouquet patterns can be designed in various styles, from realistic and detailed to more stylized and abstract. Here's a step-by-step guide on how to create an embroidery floral bouquet pattern:
Materials and Tools:
Fabric: Select a suitable fabric for your embroidery project. Common choices include cotton, linen, or even silk.
Embroidery Hoop: Use an embroidery hoop to keep the fabric taut and provide a stable working surface.
Embroidery Threads: Choose embroidery floss or thread in the colors you want for your bouquet. You can match the thread colors to your chosen flowers or get creative with color choices.
Needles: Embroidery needles are ideal for stitching intricate designs.
Design: You can choose an existing embroidery pattern featuring a floral bouquet or create your own design.
Embroidery Transfer Method: Use a method like tracing, iron-on transfer, or water-soluble pen to transfer the design onto the fabric.
Step-by-Step Guide:
Prepare Your Fabric:
Cut the fabric to the desired size for your embroidery project.
If the fabric tends to fray, you can finish the edges with a zigzag stitch or use fray-check to prevent fraying.
Select Your Floral Bouquet Design:
Choose a floral bouquet design that you want to embroider onto your fabric. You can find patterns in embroidery books, online resources, or create your own design.
Transfer the Design:
Transfer the chosen design onto your fabric using your preferred transfer method. Make sure the design is centered and positioned where you want the bouquet.
Select Your Embroidery Stitches:
Determine which embroidery stitches you'll use for the various elements of the bouquet. Common stitches for floral embroidery include satin stitch, backstitch, French knots, and lazy daisy stitches.
Consider the type of flowers in your bouquet and choose appropriate stitches to capture their shapes and textures.
Thread Selection:
Choose embroidery thread colors that match the flowers and foliage in your bouquet design. Be creative with your color choices to achieve the desired effect.
Embroidery Work:
Start embroidering the bouquet. Begin with the flowers, filling in the petals, centers, and any details.
Add the stems and leaves using appropriate stitches.
Work carefully, paying attention to the positioning of the stitches and the layering of elements to create depth and dimension in your bouquet.
Finishing Touches:
After completing the embroidery, remove any remaining transfer marks by gently washing or using a spot cleaner. Ensure the fabric is clean and free of any stray marks.
Finishing the Project:
If desired, you can frame the embroidery in an embroidery hoop or another frame for display.
Alternatively, you can use the embroidered fabric to create various items like pillows, wall hangings, or clothing with the floral bouquet as a central decorative element.
Creating an embroidery floral bouquet pattern is a rewarding and creative endeavor. It allows you to express your artistic talents and create beautiful, personalized pieces of embroidered art. The choice of flowers, colors, and stitches gives you the freedom to customize the design to your liking.