
Effortless Techniques for Transferring Embroidery Designs onto Fabric.
Discover the quickest and easiest methods for transferring embroidery designs onto fabric with this comprehensive guide. From traditional tracing paper to innovative water-soluble stabilizers, we cover a range of techniques suitable for all skill levels. Whether you prefer the simplicity of iron-on transfers or the precision of embroidery transfer pens, you'll find the perfect method to bring your designs to life. Say goodbye to guesswork and hello to seamless transfers with these tried-and-tested techniques. Choose the method that suits your project and materials, and embark on your embroidery journey with confidence!
3/24/20242 min read
Embroidery, with its rich history spanning centuries, continues to captivate enthusiasts with its intricate beauty and timeless appeal. Whether you're a seasoned embroiderer or just beginning your journey into this art form, one of the initial steps in bringing your vision to life is transferring your design onto fabric. However, for beginners, this step can sometimes feel daunting. Fear not! In this guide, we'll explore some of the simplest and swiftest techniques for transferring embroidery designs onto fabric. From tracing paper to iron-on transfers, we'll equip you with the knowledge and confidence to effortlessly transfer your designs, allowing you to focus on the joy of stitching and creation. Let's dive in and unlock the gateway to your embroidery adventures!
Here are some of the easiest and quickest techniques for transferring a embroidery design onto fabric:
Tracing Paper or Transfer Paper: Place tracing paper or transfer paper (available at craft stores) between your design and the fabric. Trace over the design with a pencil or stylus, transferring the design onto the fabric.
Iron-On Transfers: Use iron-on transfer pens or pencils to trace the design onto tracing paper. Then, place the traced design onto the fabric with the design facing down, and iron over it. The heat will transfer the design onto the fabric.
Carbon Paper: Place carbon paper (available at office supply stores) between the design and fabric, with the carbon side facing down. Trace over the design with a pencil, transferring the design onto the fabric.
Water-Soluble Stabilizer: Print or draw your design onto water-soluble stabilizer using a printer or pen. Place the stabilizer on top of the fabric and stitch through both layers. Once stitching is complete, soak the fabric in water to dissolve the stabilizer, leaving behind the embroidered design.
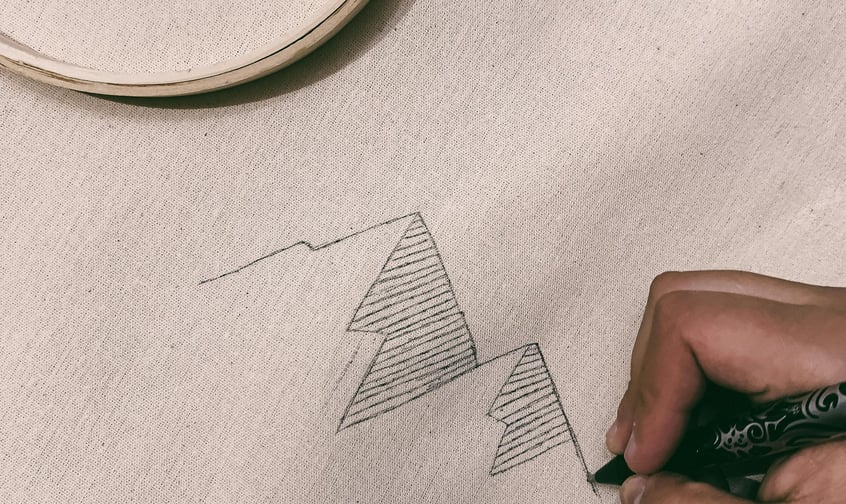
Embroidery Transfer Pens: Use an embroidery transfer pen to directly draw the design onto the fabric. These pens usually have ink that disappears with water or heat.
Choose the technique that best suits your design and materials, and enjoy transferring your embroidery patterns with ease!
Mastering the art of transferring embroidery designs onto fabric is an essential skill that opens the door to endless creative possibilities. By exploring the techniques outlined in this guide – whether it's using tracing paper, iron-on transfers, carbon paper, water-soluble stabilizer, or embroidery transfer pens – you've equipped yourself with the tools to seamlessly bring your designs to life. Remember, practice makes perfect, so don't be afraid to experiment with different methods to find what works best for you and your projects. With each stitch, you'll gain confidence and proficiency, unlocking new levels of creativity along the way. So go forth, embroiderers, and let your imagination soar as you breathe life into your designs on fabric. Happy stitching!
www.designet.shop