
A Step-by-Step Guide to Stitching Charming Christmas Trees
Craft Festive Magic: Stitching Holiday Joy!
11/14/2023
To embroider Christmas trees, you can follow these general steps:
Select Your Design: Choose a Christmas tree embroidery design that suits your preference. This could include traditional evergreen trees, stylized abstract trees, or even whimsical and creative designs.
Gather Materials: Collect the necessary embroidery materials, including an embroidery hoop, fabric, embroidery floss in various colors, needles, and embroidery scissors.
Prepare Fabric: Secure the fabric in the embroidery hoop, ensuring it is taut. This creates a stable surface for your embroidery.
Outline the Tree: Begin by outlining the Christmas tree shape using a backstitch or any other preferred outlining stitch. This will serve as a guide for the rest of your embroidery.
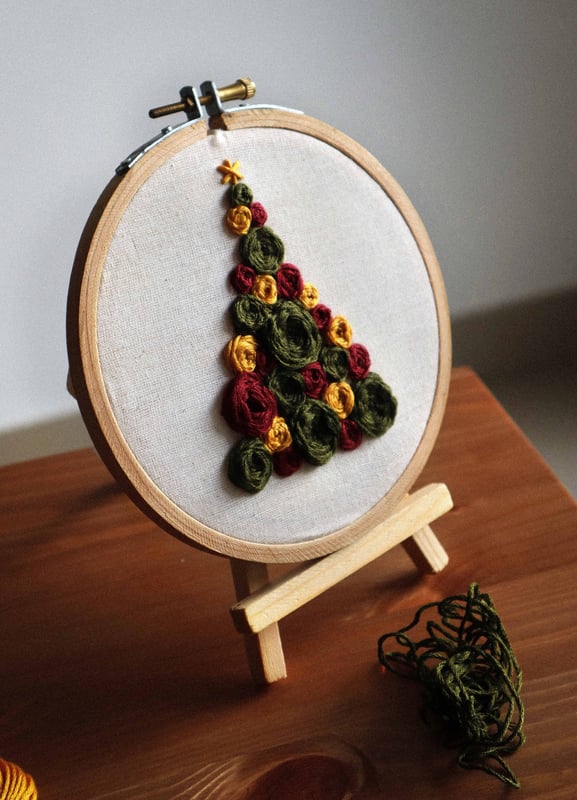
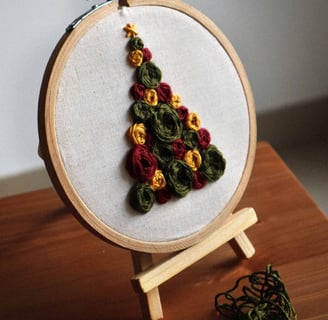
Fill in the Tree: Depending on your design, use different embroidery stitches to fill in the tree. Satin stitch, French knots, or seed stitch can be used to add texture and dimension.
Add Decorations: Embroider decorations on the tree, such as ornaments, lights, or a tree topper. Get creative with colors and stitches to make your tree unique.
Background (Optional): Consider adding a background or additional elements to complement the Christmas tree. This could include snowflakes, presents, or a festive border.
Finishing Touches: Once you are satisfied with your embroidery, remove the fabric from the hoop and trim any excess threads. If desired, you can frame the finished piece or incorporate it into a larger holiday project.
Remember to have fun and experiment with different stitches and colors to bring your Christmas tree embroidery to life!